|
PREP TIME: 30 minutes COOK TIME:35- 40 minutes OVEN TEMP: 375° 11x9 baking dish INGREDIENTS 3 cup ricotta cheese 2 tsp dried parsley 2 tsp dried basil ½ tsp salt ½ tsp pepper 2 eggs, beaten 2 cups mozzarella cheese 1 cup grated parmesan cheese 25-28 gluten-free manicotti shells (Cook according to package directions. Gluten manicotti shells may be larger, so the total amount of shells may be less.) Generous amount of pasta sauce (homemade is best- see my recipe on page 139 in my cookbook, It Just Happens to be Gluten-Free) ¼ cup mozzarella cheese or parmesan for the top Piping bag with large tip **Optional** 4 cups spinach + ½ Tbsp EVOO+ ½ tsp garlic powder DIRECTIONS 1. Cook manicotti shells according to the package directions 2. In a large mixing bowl, add the first 8 ingredients and mix well. 3. If you choose to add spinach: sauté the spinach in a pan with the EVOO and sprinkle with garlic powder. Set aside to cool. You will blitz the spinach in a food processor (or use your very best knife skills until the spinach is almost pureed. Squeeze the excess water from the spinach and add it to the cheese mixture. You should get a little over ½ cup of spinach. 4. First spoon a generous amount of sauce onto the bottom of the baking dish. 5. Fill the piping bag with the cheese mixture and pipe the filling into the manicotti. (Trick: Grab a tall cup, and place the piping bag, tip down, and curl the end of the bag over the edge of the cup. Fill the bag leaving a few inches on the top so that you can manage the bag easier. 6. As you fill each manicotti place them in the baking dish close together. 7. When you are done filling the shells, cover the pasta generously with the sauce. The sauce should cover all the shells completely. 8. Sprinkle top with mozzarella (or parmesan) cheese. 9. Place in preheated oven for 35 -40 minutes 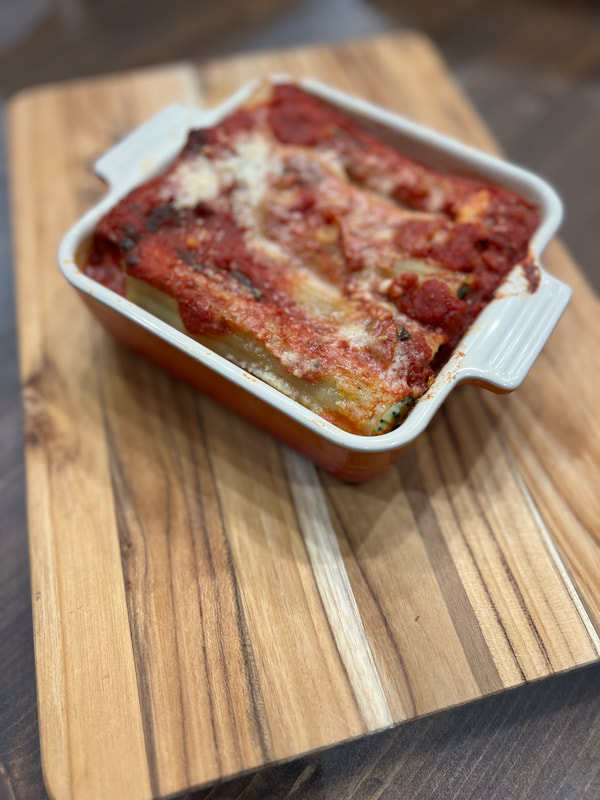
0 Comments
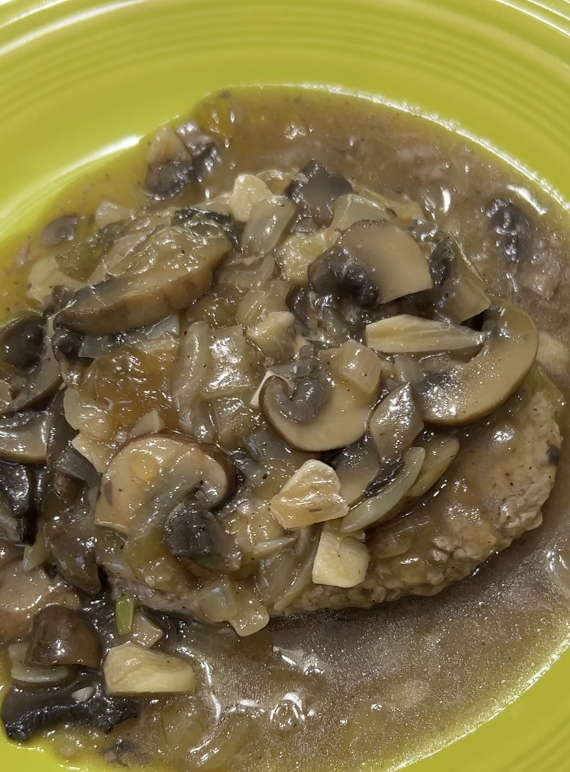 PREP TIME: 30 minutes COOK TIME: 20 minutes
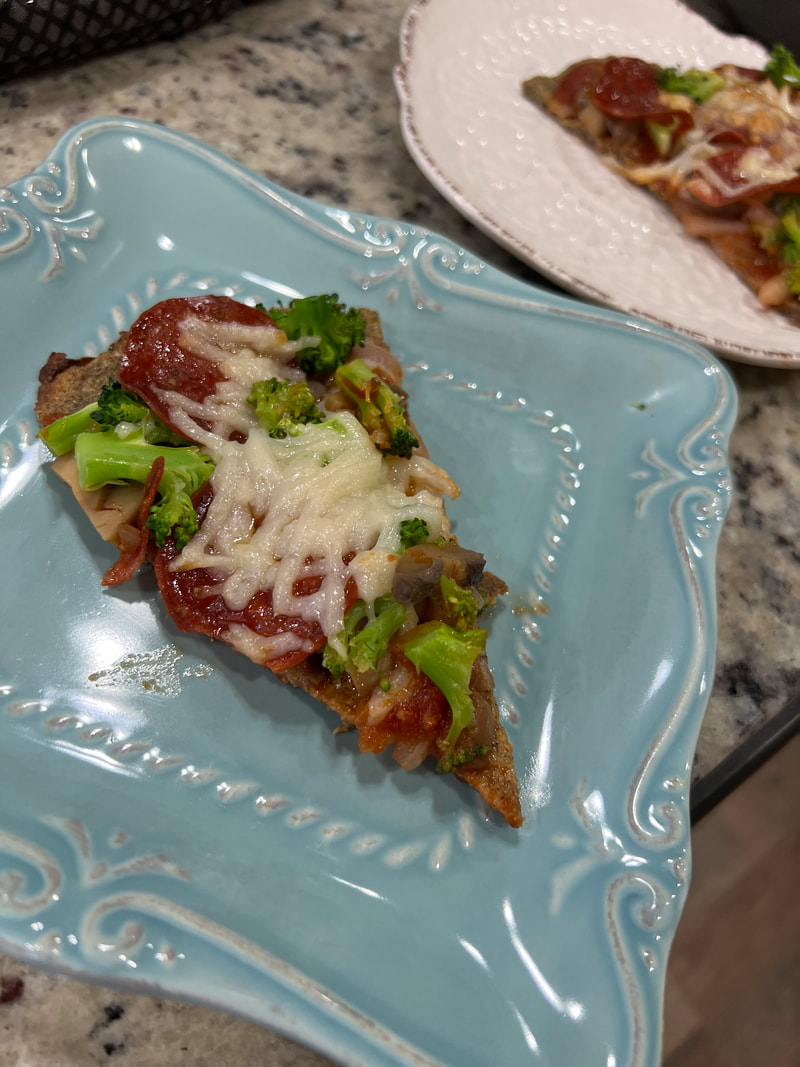
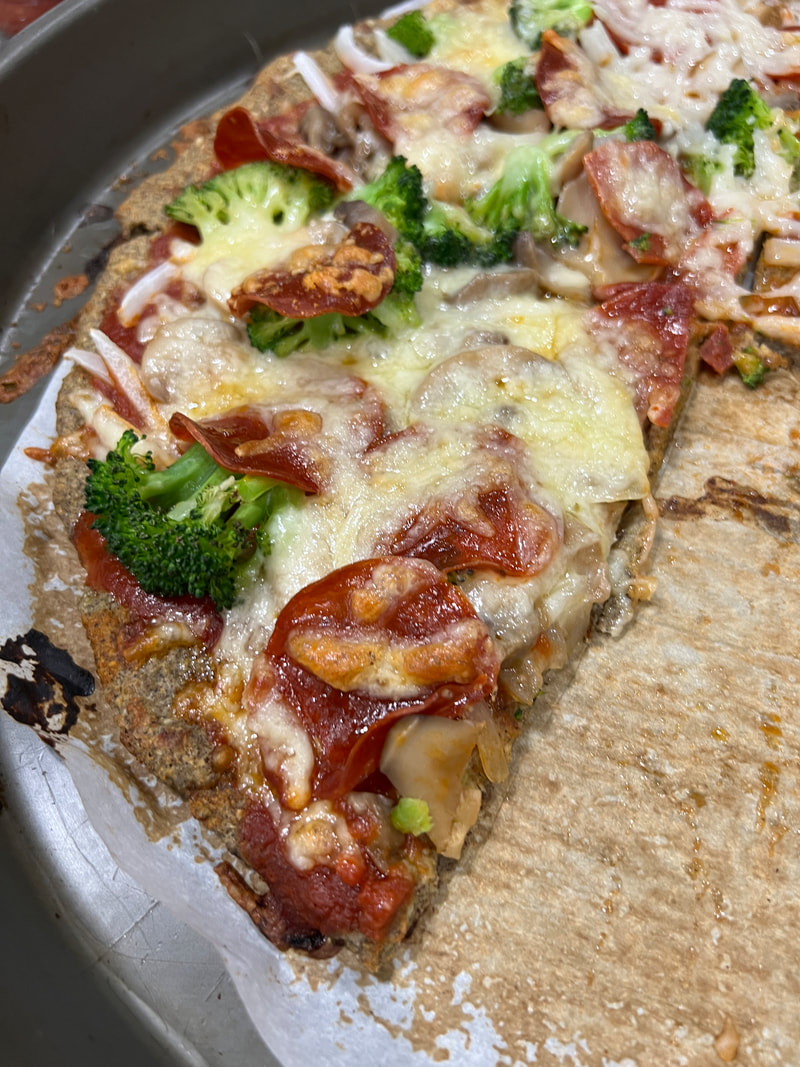
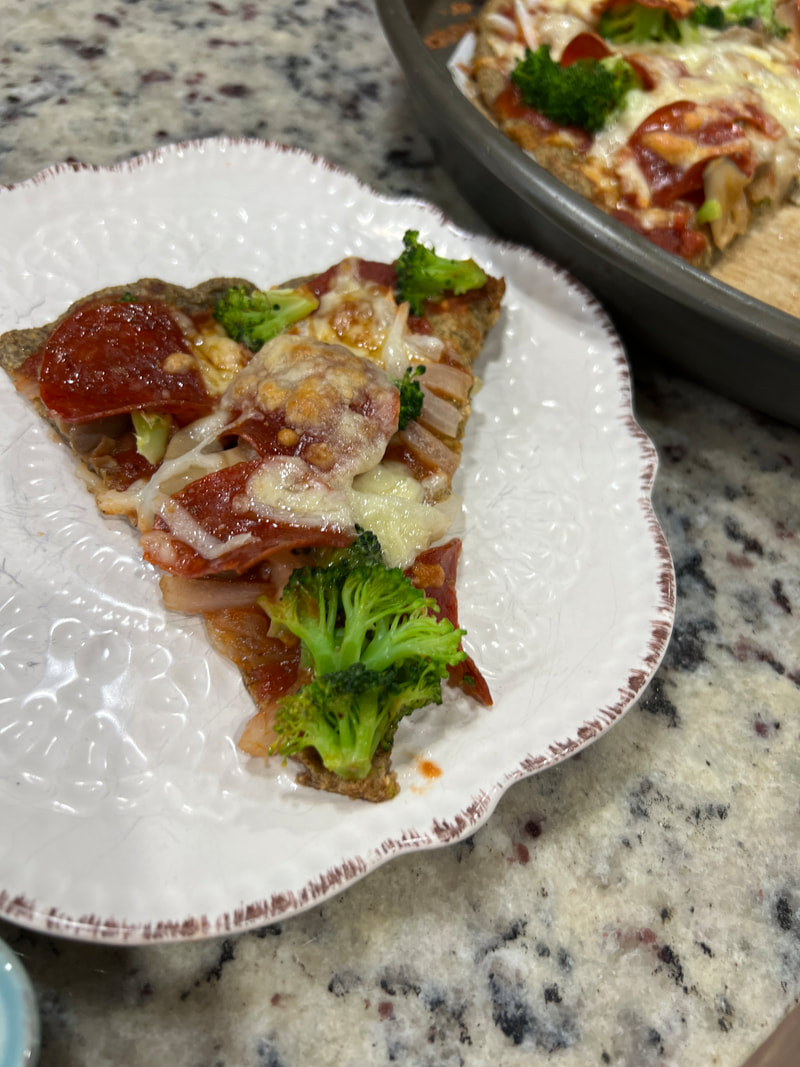
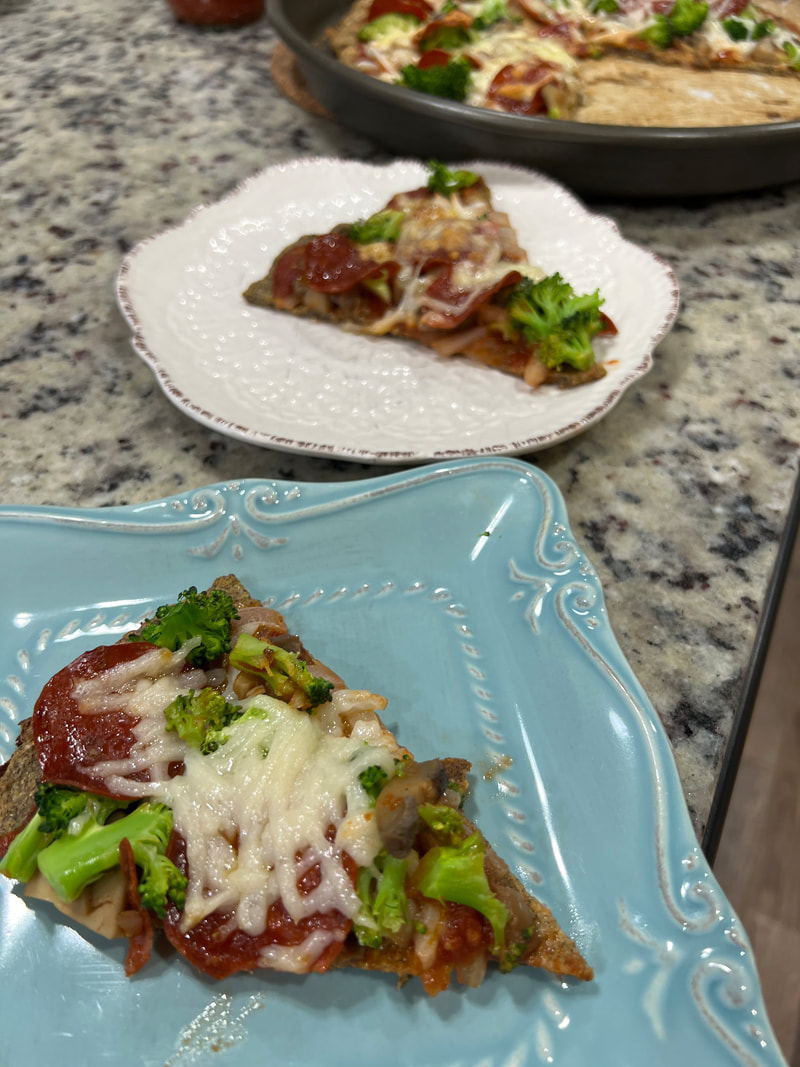
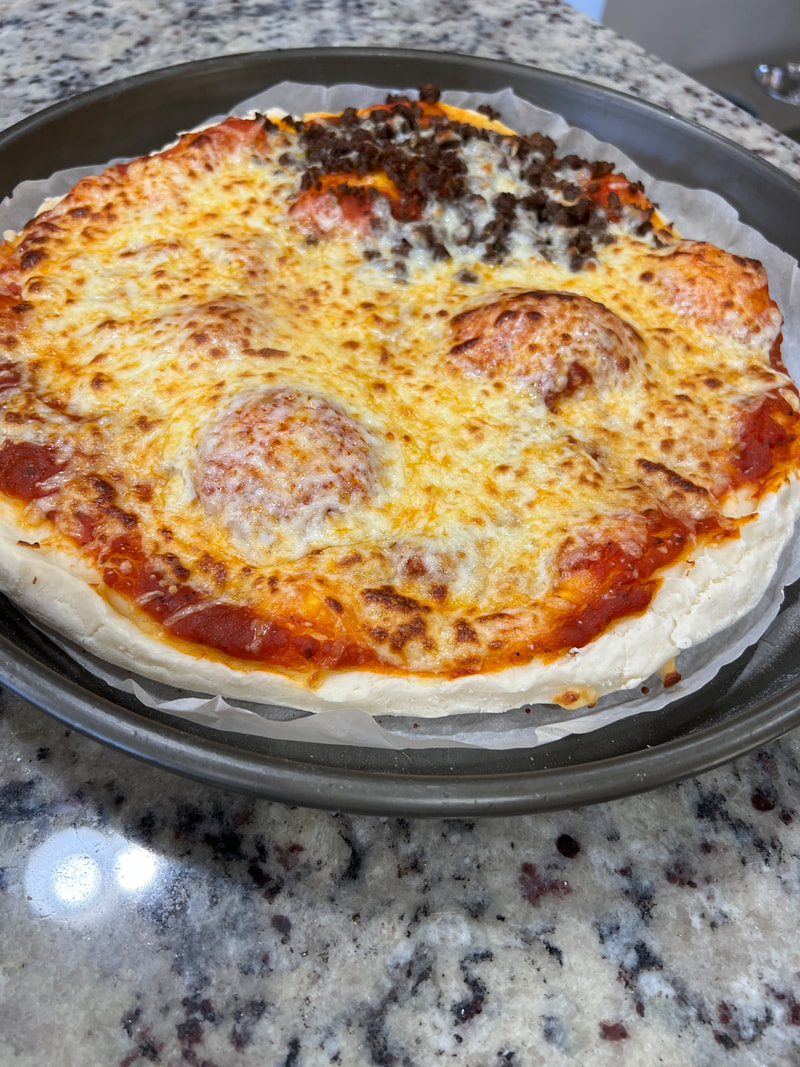
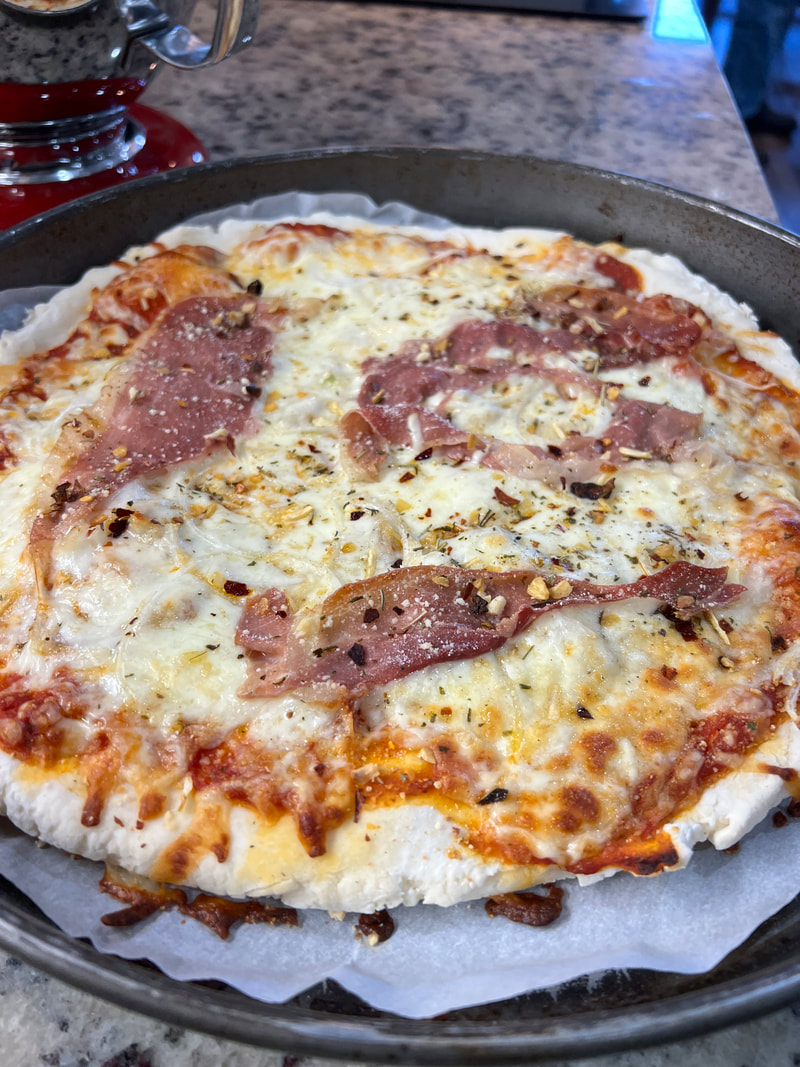
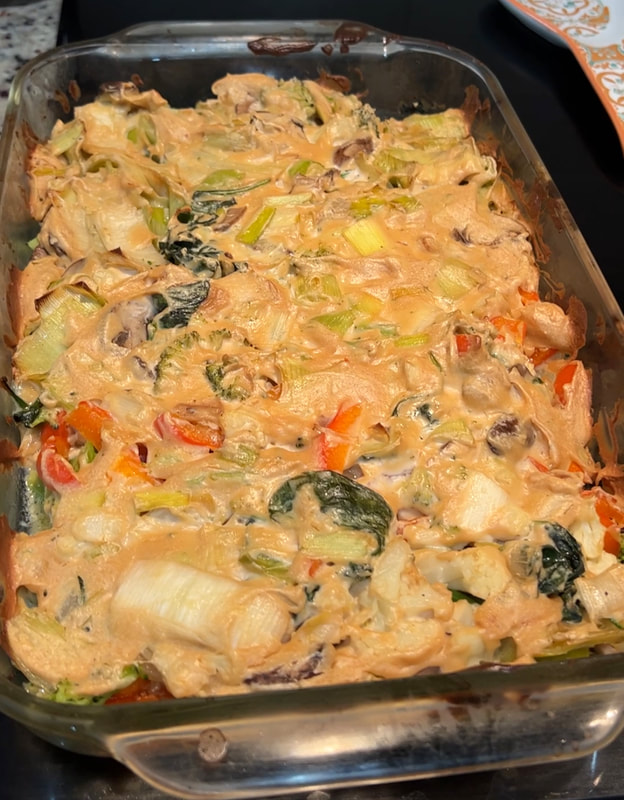
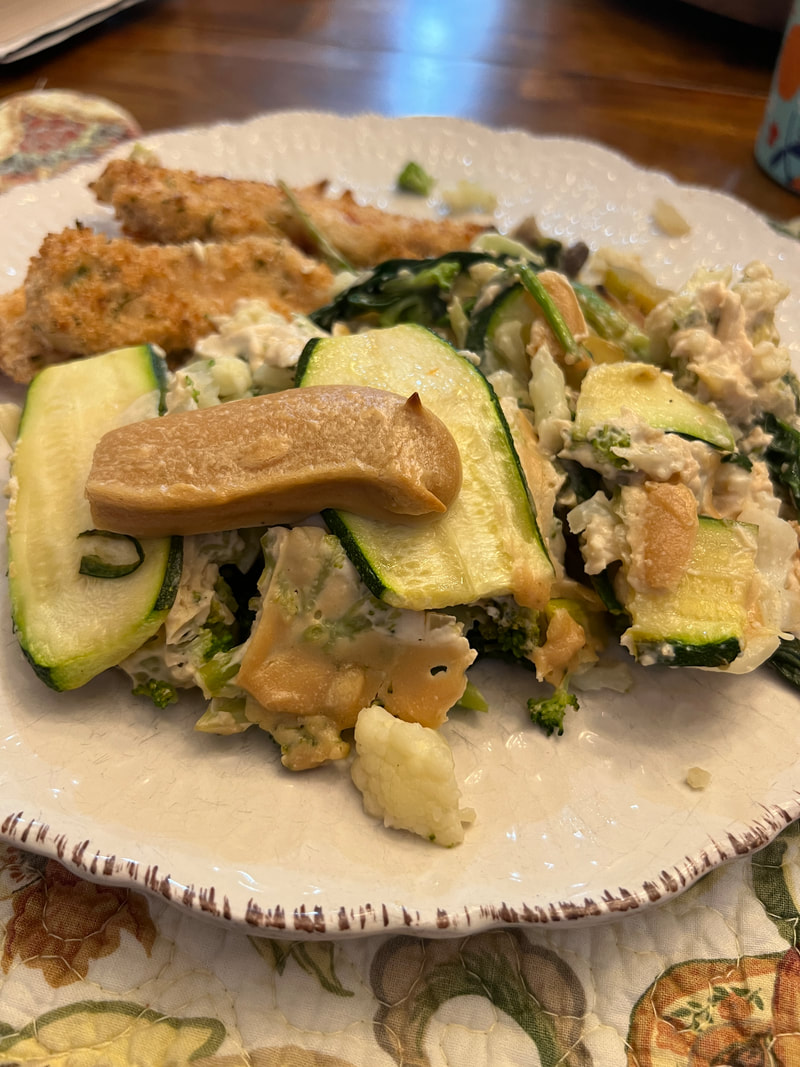
INGREDIENTS 3 Tbsp salted butter 1 – 1 ¼ pound of cube steak 1 medium onion, diced 4 garlic cloves, minced 10-12 Portobello mushrooms, sliced (about 4 cups) 24 ounces beef bone broth (you can use beef broth) 1 tsp salt ½ - 1 tsp black pepper (*my husband loves lots of black pepper with his beef) 1 tsp dried parsley 2 Tbsp potato starch 1 Tbsp extra virgin olive oil DIRECTIONS 1. In a large sauté pan, add: butter, onions, garlic, mushrooms, dried parsley, salt, and pepper. 2. Cook the vegetables for about 5 minutes. 3. Add the broth, stir and allow to cook for 2 minutes. 4. Add the potato starch and whisk continually, for about 3 minutes. 5. In a separate hot frying pan, add the olive oil and then place the cubed steak. 6. Sprinkle with a little salt and pepper and brown for 1 minute on each side. only 1 minute. 7. Place the browned beef into the mushroom gravy. 8. Cover the beef with the gravy and allow to cook for 6-8 minutes. Roasted Pumpkin Spinach Pasta (GLUTEN-FREE) Preheat the oven to 400° Ingredients: (1)Pie Pumpkin 12 ounces dry gluten-free penne (Jen’s favorite brand is Tinkyada) 5-6 medium/large garlic cloves ½ cup of onion, diced (or 1 small onion) 4 Tbsp extra virgin olive oil (using 2 Tbsp for sautéing, 1 -1 ½ used in preparing the sauce, ½ for the ham) 3 tsp Himalayan Salt (use 2 teaspoons in pasta, ½ tsp when sautéing, ½ teas when wilting spinach) 1 bay leaf 1 teas dried parsley 4 cups of fresh spinach Goat cheese (or feta)- to sprinkle on top ¼ pound of ham (can be deli ham) Optional: 1/2 cup chopped walnuts Instructions for Pasta: Bring water to a boil to cook the pasta. Add 2 tsp of salt and (1) bay leaf to the water. When the pasta is done, strain the water but reserve it to use in cooking the pumpkin spinach sauce. Remove the bay leaf. Instructions for preparing and roasting the pumpkin: 1.Peel the skin off of the pie pumpkin. Cut the pumpkin in half. Remove the seeds and any of the pumpkin strings (fibrous strands). Reserve the seeds for roasting! 2.The easiest way to remove the outer skin of the pumpkin is to use a peeler and peel in a downward or “away from you” motion. This retains more of the pumpkin flesh than using a knife. Cut the halves into strips. If there are any remaining small areas of skin, use a knife to remove them. Next cut into cubes. 3.Line a baking sheet with parchment paper and place cubed pumpkin on the sheet. 4.Drizzle the cubes with olive oil and a sprinkle of salt. 5.Roast in preheated oven for 30-35 minutes. **Should be able to get a fork through it as easy as butter! Instructions for preparing the ham: 1.Slice the ham into thinner strips. 2.Place ½ Tbsp olive oil in medium frying pan. 3.Place ham and stir until slightly brown. Instructions for preparing the pumpkin spinach sauce: 1.Place olive oil in a large sauce pan 2.Sauté the garlic and onion on medium heat. Do not burn. 3.Add ½ of the roasted pumpkin to the sauce pan 4.Use a fork or wooden spoon to mash the pumpkin 5.Add a bit of reserved water (like 3 Tbsp).Mix well. 6.Next add 4 cups of fresh spinach 7.Sprinkle ½ tsp salt 8.Add 2 Tbsp of reserved pasta water. 9.Stir until the spinach is completely wilted. 10.Add the cooked pasta stir. 11.Add ½ Tbsp of olive oil to the pan 12.Add the remaining roasted pumpkin to the sauce pan 13.Add the dried parsley 14.Add 1-2 TBS of water until you arrive at a nice creamy consistency. ***The consistency of the sauce you’re aiming for is looser than paste but NOT watery. 15.Place in a bowl and top with your choice of cheese and your lightly browned ham. Top with walnuts if you like! Enjoy! 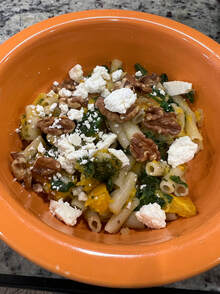 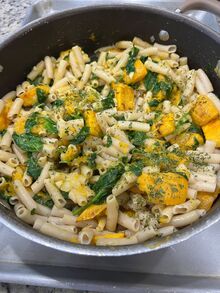 Preheat the oven to 350° Now if you are like me and are trying to find ways to make tasty gluten-free things for yourself and low on dairy or lactose free for another member of your clan…then look no further! THIS IS A MUST TRY! ½ head of medium to large head of cauliflower ¼ cup of buckwheat flour ¼ cup of Jen’s GF AP flour 1 TBS psyllium husk powder ½ teas salt ½ teas onion powder- fine ½ teas garlic powder- fine 3 large eggs 1 parchment lined baking sheet Parchment lined pizza pan or another baking sheet *Take your cauliflower and remove most of the bulky stem in the middle. *Next place the cauliflower in a food processer and make a crumbly almost cauliflower paste *Spread the cauliflower “paste” or crumbles onto the parchment lined baking sheet. *Place in to the oven for 20 minutes. Open oven and move the cauliflower around with a wooden spoon. Place back into the oven for 10 more minutes *Remove when done and allow to cool *Place cooled cauliflower into a mixing bowl along with all the remaining ingredients *Mix well *Allow mixture to sit a minimum of 5 minutes *Take the mixture and spread it with a spatula or your gloved hand. I prefer my gloved hand. I start in the middle and work my way out to the sides and form a perfect pizza crust *Place into the preheated oven for 22 minutes *Remove and flip the pizza crust over and cook for another 5 minutes *Remove the crust and flip back over to the original side *Place sauce and topping on to the pie crust *INCREASE the oven temp to 400° Place the pizza back into the oven and allow to cook for 15 – 20 minutes depending on the amount of toppings you have on the pie and watching for a golden brown on your cheese. We wait for the kids to come home or have a reason to make pizza and every time we do it’s delicious! It brings back memories of the kids growing up and asking for pizza night. I’d make the dough, and each person would get their own ball of dough to create their own pizza! They’d roll it out, form it, par bake it, then put the toppings on and bake again! We all loved our time together and the yummy pizza The white pizza crust (& the one my kids love) was an overnight rise and it worked out great! 2 cups fine white rice flour (+white rice flour for kneading and 2-3TBS for end of mixing process) 2 cups Tapioca flour ( I love to use half tapioca starch /flour and the other half Expandex tapioca starch. It makes for such a fabulously stretchy and fluffy crust!! 3 1/2 teas xanthan gum 1 teas salt 4 egg whites 3 TBS shortening in 1/2 cup hot water 2 TBS fast acting yeast 1 TBS sugar 1 cup warm water Add sugar and yeast to 1 cup water and mix. *Add dry ingredients to stand up mixer *add egg whites *next add shortening and water *add yeast when has at least doubled in size *Mix until smooth (about 3 minutes) *Add a tiny bit (~ 1 TBS) of white flour at a time to mixture until dough pulls away from the sides of mixing bowl. *Scrape the dough out and place into into a bowl a bowl sprinkled with rice flour. Cover tightly with plastic wrap, placed in the refrigerator overnight. *Preheat the oven to 400° * knead the dough into a ball *roll to the shape you want *place in the oven for 7 minutes (a minute or two longer if you have a very thick crust) * remove the crust(s) from the oven and place your sauce and toppings on. *Put back into the 400° oven for at least 10 - 15 minutes and until the cheese is golden brown. This recipe should make at least 2 decent size pizza crusts depending on the thickness, possibly 3 if you prefer thin crust pizza! On my YouTube channel, Glutenfree and Me, I have this recipe which I posted many years ago and I also have up my "Alternative" pizza crust recipe which uses a variety of healthy high protein flours!  When we have the whole family over we do this recipe. When I cooked it on WDRW’s Morning Mix I cut this recipe in half 2 pounds ground organic turkey 1 pound of hot Italian turkey (or chicken) sausage (1 pound) About 8 cloves of garlic 1 large green pepper (or 2 small) 1 large onion (or 2 small) 1 small can of tomato paste (6 ounce can) 2 cans diced tomato (each can is 14.5 ounces) 1 can of HOT Ro*Tel (10 ounce) 2 cans of beans- your choice (I suggest kidney, black bean combined with a can of pinto. Each can is 15 ounces) 1 pack gluten-free chili seasoning (that states GF and that it is for 2 pounds of meat) If you desire you can add a touch of these spices to up the flavor: chili, cumin, coriander, paprika, ground chipotle (TOTALLY optional) *Use garlic press for garlic- or diced very small. Chop onion and pepper up fine. *Sauté the veggies first. Start with the peppers and onions in oil. Once they are going add the garlic. *Once is translucent and cooked well, take it out of the pan (set aside). *Add more oil to the pan and brown ALL of the meats. *Once they are cooked, add the sautéed veggies, diced tomatoes, Ro*Tel, paste and seasoning packs. *Add 2-3 cups water to help mix. *Put the lid on and let simmer for an hour or so, stirring occasionally. **30 minutes before you ready to eat, add the beans and let it simmer for another 30 minutes with the lid on. Stir occasionally. Watch the consistency. Too thick add a little water. Too loose leave the lid off, turn the heat up slightly, stir often. Enjoy! 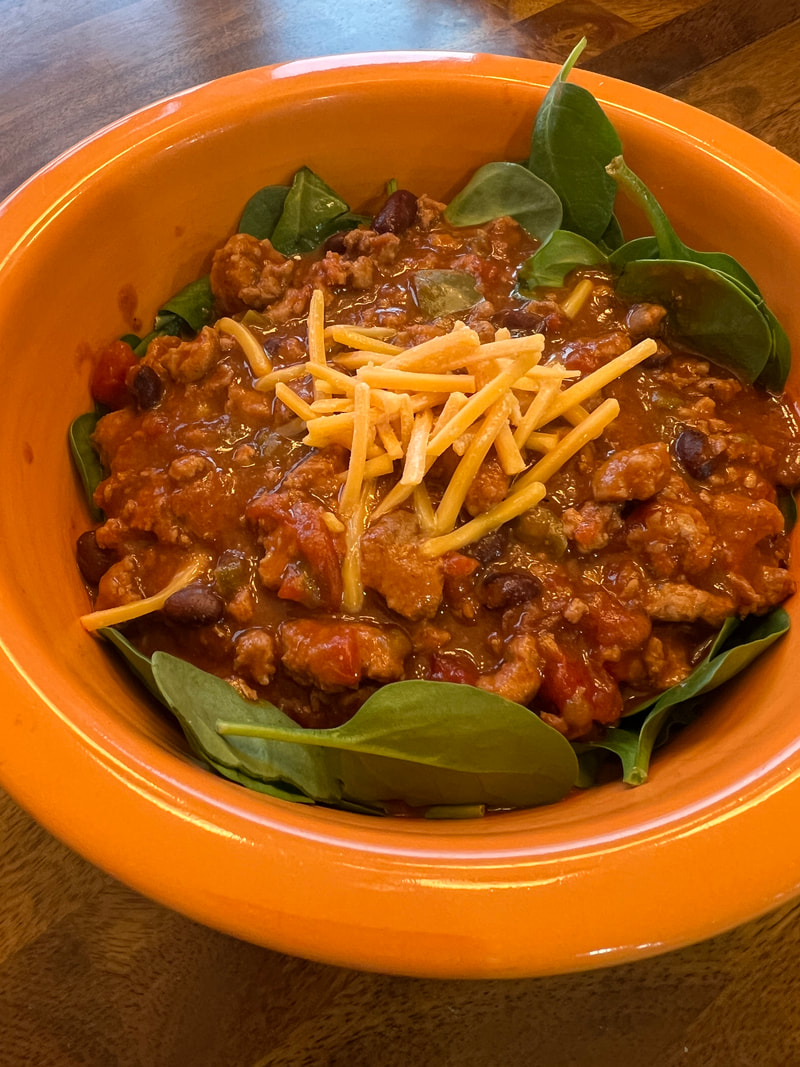 Preheat oven for 350 If you’d rather watch this recipe …hope onto my YouTube channel for the real thing! I love eggplant parmesan. It brings back such wonderful holiday memories for me. I began making it for my family as one of those traditions I wanted to hold onto! Here is how I make it! Ingredients: 2 medium sized eggplants Gluten-free bread crumbs (at least 12 ounces) Dried parsley Garlic powder Onion powder Salt Pepper Parmesan cheese (grated- the type you get on the shelves is what I use in this recipe) Mozzarella cheese (15+ ounces) 6 eggs Tomato sauce (I make my own sauce and is a quick glance at the ingredients I use so that you know the flavors we are trying to achieve in or EGGPLANT PARMESAN!) I use a good extra virgin olive oil 8-10 garlic cloves minced 15-20 leaves of fresh basil 1-2 TBS dried parsley ½ TBS onion powder 1 TBS salt 1 teas black pepper 2 cans of crushed tomatoes 1 small can of tomato paste 1 large can of diced tomatoes ( I don’t always use diced tomatoes…but sometimes I like the sauce to be chunky! If you don’t care for that replace this can with another of the crushed tomato.) In a large pot, warm the olive oil, place the garlic in. As the garlic begins to sauté (watch to ensure it doesn’t burn) spoon the paste in. With your spoon, move the paste around in the oil and garlic. Like you are frying it. Then pour in the remaining cans. Season with all of the rest of the ingredients. Bring to a boil, reduce to a simmer. I like my sauce to simmer a minimum of an hour. I find the longer the better…so if you have 2 hours to spare…YUMMO! NOW onto the EGGPLANT PARMESAN! Cut the ends off of the eggplant Peel the eggplant. (The easiest way is using a vegetable peeler) Cut eggplant into ½” slices for a more even cook. (If you happen to go thicker on a few…no worries, we will make sure those thicker pieces are on THE BOTTOM of pan so that we can ensure they cook in the sauce completely to get soft!) I like to fry the eggplant in a small amount of oil – this means I have to wipe the frying pan out of excess bread crumbs but I find it is less oily and well worth the mess. I use olive oil or avocado oil. Keep in mind the smoke point of olive oil is 410 so we want to make sure the pan isn’t too hot. To be safer…use avocado oil, it’s smoke point is 510!! *In one mixing bowl add the bread crumbs mixture needs to be seasoned. I love each component to have great flavor! I loosely season it with ingredients 2-8 listed above. I think this is a preference thing but I will tell you rough amounts. Keep in. mind that if you don’t want to use the parmesan cheese you can simply increase the salt content used at this stage. ½ TBS garlic powder 2 teas onion powder 1 teas salt ½ teas pepper 1 TBS parmesan cheese 1 TBS dried parsley *In a second mixing bowl add 6 eggs, beaten. In a large frying pan add 1 TBS oil, place a few slices in egg mixture, coat on both sides. Then place in the bread crumbs mixture. Tap excess crumbs off and place in hot oil. Cook for about 2 minutes or until golden brown and flip. DO the same for the second side. Place in a paper towel lined plate. Salt top of browned eggplant if you desire. *In a roasting pan, or Pyrex dish (9x13 or 2-8x8): 1st layer- sauce 2nd layer- eggplant 3rd layer- mozzarella cheese 4th- sprinkle of parmesan cheese REPEAT ABOVE layers Bake in preheat oven for 25-30 minutes until you see the sauce on the bottom bubbling and the top golden! ENJOY one of my favorite holiday meals! 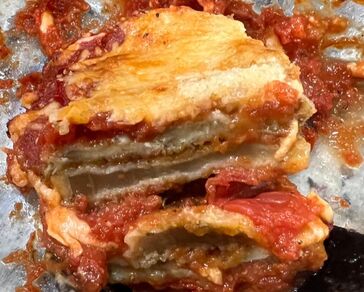  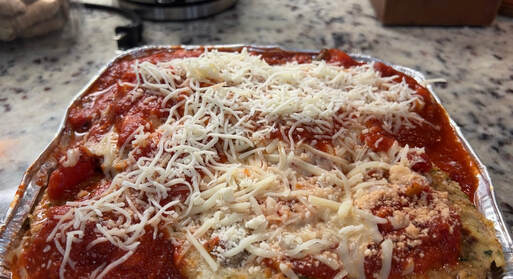 Preheat the oven to 350° If you crave pasta but want to try something a little different, I highly recommend giving spaghetti squash a try! For my husband and I, (1) squash will usually hit the mark for dinner! Carefully cut the squash in half lengthwise. Remove the seeds and loose stringy “flesh”. In a roasting pan with 2 cups of water and the halves cut side up. Place in a preheated oven for 30 minutes. To test if the squash is ready, you should be able to push a fork through it effortlessly! If it doesn’t go through easy, allow to cook for an additional 5 minutes. We usually like to top it with our homemade sauce. (Olive oil, tons of fresh garlic (8 cloves), fresh basil (20 fresh leaves) crushed tomatoes (2 cans), salt, black pepper to taste, and 2 teas of fine onion powder, 1 TBS dried parsley, and 1-2 bay leaves. Allow to come to a boil. Lower and allow to steam for 2 or more hours for the BEST SAUCE! 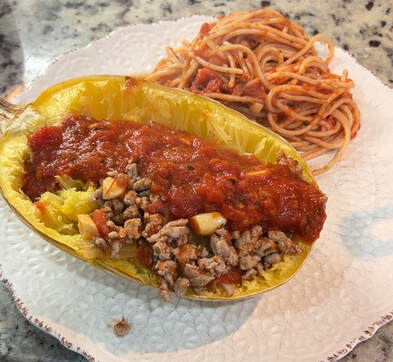 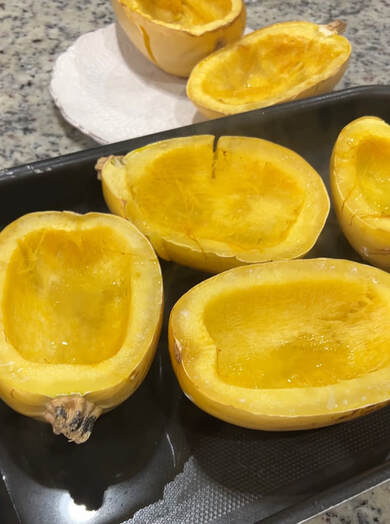 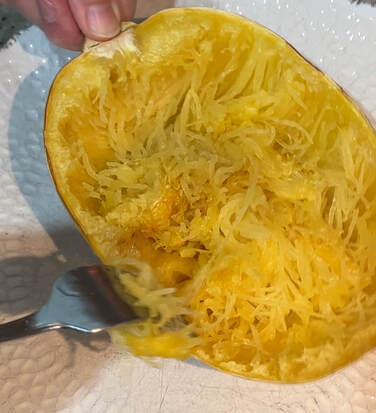 This is one of my FAVORITE versions of lasagna! I play around with the veggie I use. It really is a preference thing! Below I will tell you the amounts I used to get 2 trays of this awesome dish. You can reduce the recipe easily! Since I like to steam and season each vegetable for maximum flavors with each level, I allow myself an hour prep time. The point of this step is flavor and to begin to cook the vegetable NOT TO GET IT TOO MUSHY! Many versions of this have you steaming ALL the veggies (like zucchini) together but I found that it makes certain veggies TOO mushy! Vegetables I used : 3 Zucchini Sliced long way 8 ounces portobello mushrooms, sliced 2 leeks, cut in half length wise, then cut again into smaller pieces 1 sweet onion, dice 5-6 cups spinach 1 red pepper, sliced or diced 1 head cauliflower, remove core and cut into smaller pieces 2 broccoli crowns broccoli, remove core and cut into smaller pieces Other veggie options: Swiss Chard, Kale, Turnip Greens, Beet greens 1-In sauce pan with a little olive oil sauté 1-2 garlic cloves and add greens (spinach in this case) and salt. 2-In pan: add cauliflower, drizzle a little oil, salt, pepper, and powdered garlic, allow to steam. Set aside. 3-In pan: add broccoli, drizzle a little oil, salt, pepper, and powdered garlic, allow to steam. Set aside. 4-In pan: add olive oil mushrooms, onions and red pepper, move pan for 3 minutes, take off the heat. 5-In pan: add a tab of olive oil and zucchini slices. Move around for about 3-4 minutes until slightly cooked, if you see them getting to limp, remove them from the heat. 6-In pan: add tiny bit of oil and leeks, salt, pepper, and powdered garlic, sauté for 3-4 minutes. Set aside. I like to add 2/3 of the zucchini on the bottom first. Then leeks. On top some cashew cream. Then continue with layering however you like. You can add a dallop of cream here and there. On the top and final layer I add zucchini and tope with more cashew cheese. *I like to season each veggie in the sauce pan with salt, pepper, and garlic powder. Fresh garlic is not used in each veggie steaming- but I use a bit of dried garlic powder. Sauce: *In a recipe this size…I triples the cashew cheese because that is how much we think it ROCKS 1 cup of raw cashews ( I place the raw cashews in water for an hour) Juice of 1 lemon 1 heaping TBS miso paste 1 tsp garlic powder 1-2 tsp sea salt DIRECTIONS: Preheat oven @400 degrees. Cook for 25-30 minutes. It is addicting it is that delicious!
Preheat the oven to 350° Grease a 9x13 baking dish with butter Prep: 15 minutes +(time to make rye bread and or corn bread) Cook: 40-45 hour Ingredients 6 slices of gluten-free white bread (store-bought) 2 sliced of gluten-free rye bread **See Jen's RYE BREAD Recipe 2 slices of our own homemade gluten-free bread **If you DON’T have a favorite home-made gluten-free bread that you make, you can either use Jen’s recipe OR increase the number of white bread slices by 2. 11 ounces gluten-free cornbread (is approximately 2/3 of box made cornbread) **It doesn’t matter if the cornbread is your own recipe or from a box-prepare according to the directions. 1 cup of gluten-free turkey gravy **If you are preparing this dish before the turkey is done, like I do, and you can’t find a gluten-free turkey gravy, then increase the chicken broth by 1 cup and add a dash more poultry seasoning OR add fresh thyme & rosemary!! 1 TBS olive oil 5 TBS butter (4 TBS for sautéing and 1 TBS for the top) 1 medium onion, diced 3 celery stalks, diced 2 medium carrots, diced 2 cups of gluten-free chicken broth 1 teas garlic powder 1/2 teas salt 1/4 teas black pepper 2 large eggs, beaten 1 – ½ TBS poultry seasoning (**May need a dash more if you don’t have turkey gravy) OPTIONAL: ½ cup grated parmesan cheese Directions: 1.Make the cornbread according to the directions. Set aside to cool. 2. Defrost, toast, or make all the breads needed. **See Jen’s Rye Bread 3.Place all the bread for the recipe on a parchment lined baking sheets to toast and dry out a bit in the preheated 350° oven for 12-15 minutes. 4.Pull the baking sheets out and turn the bread slices over. Put back in the oven for another 12-15 minutes. If the bread is not dry to the touch after the total 30 minutes, then place back in the oven for 5-minute increments until they are. 5.Remove the bread from the oven and set aside. 6.In a large sauce pan sauté the onions, celery, and carrots in olive oil and 4 TBS butter and season with garlic powder, salt and pepper. Cook until the vegetables begin to get translucent, then remove from heat and allow to cool a bit. 7.Cut all of the toasted bread and corn bread in to cubes. 8.Next in a large mixing bowl: Put in all the cut breads, the slightly cooled sautéed vegetables, and the beaten eggs, and gently mix. 9.Add the poultry seasoning, the gravy, and the chicken broth and mix gently to blend well without breaking the bread or making mush. 10.Place mixture in baking dish. 11. Top with cheese (optional) 12. Bake for 40-45 minutes Tips: While store bought white and rye bread will be easier and may even be drier than home-made bread…there is NOTHING like FRESH Rye Bread! I can promise that you will thank me for suggesting you make it fresh! 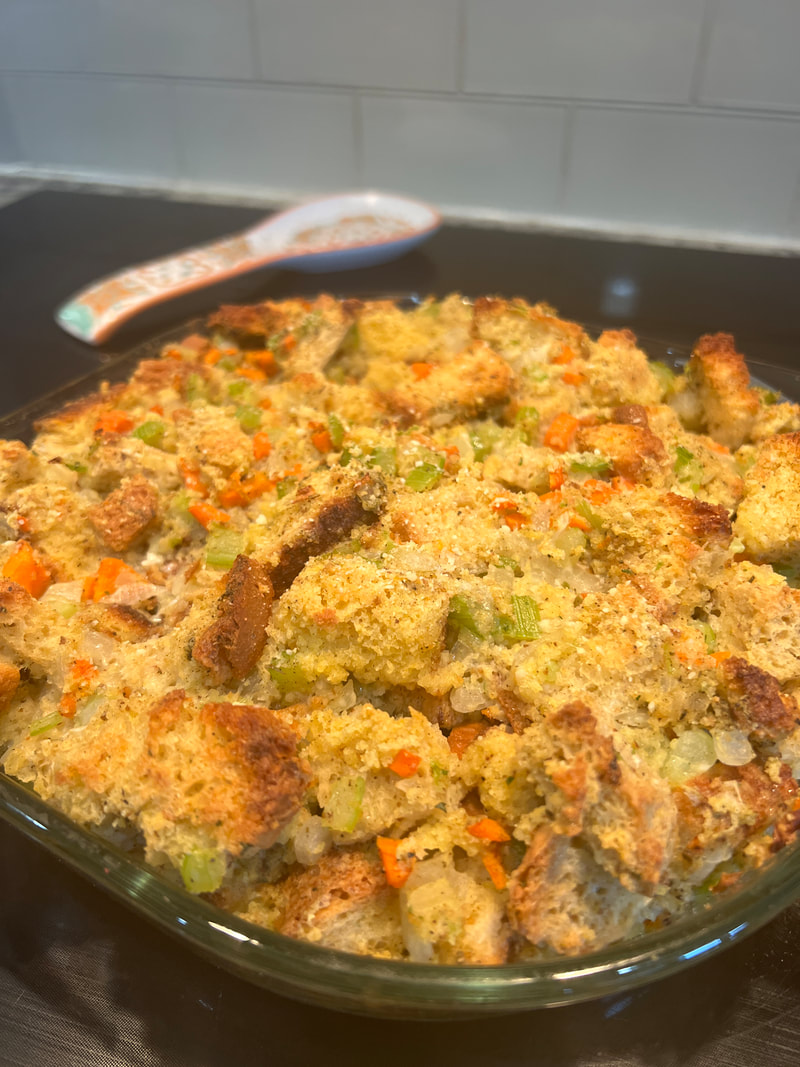 |
AuthorJen Fiore has been cooking and baking gluten-free for herself and her family since 2003 & is happy to share her recipes with you! |


 RSS Feed